How To Pay NBI Clearance Online Using GCash?
Paying for NBI clearance Online through GCash is a fast and convenient option for many Filipinos, saving time and effort compared to traditional methods. However, users sometimes face challenges, such as payment confirmation delays or incorrect payment details, which can cause frustration and affect the application process.
To solve these problems, ensure that you double-check all payment details, especially the reference number provided during the NBI application process. Use a stable internet connection to avoid transaction interruptions, and after completing the payment, save the confirmation receipt as proof of payment.
If the payment confirmation does not update immediately, contact GCash support or NBI’s helpdesk with your transaction ID to resolve the issue quickly.
Follow the step-by-step guide below on “How to pay NBI using GCash” to ensure your payment is completed successfully!
What is GCash, and Why is it Used for NBI Clearance?
GCash is a widely used mobile wallet in the Philippines, enabling users to transfer funds, settle bills, and shop both online and offline. With its easy-to-use interface and widespread reach, GCash has emerged as a top solution for seamless digital payments.
When it comes to NBI Clearance, GCash is a preferred payment method because of its efficiency and ease of use. Instead of visiting payment centers or banks, applicants can settle their NBI Clearance fees through the app in just a few taps. This eliminates unnecessary steps, making transactions faster and more convenient to save the time of individuals.
What You Need Before You Start
Before you continue, double-check that you have these required items:
- A registered GCash account with sufficient balance.
- An NBI Clearance reference number, which you can get after completing your online application.
- A stable internet connection.
How to Set Up Your GCash Account?
Setting up your GCash account is the first step to paying for your NBI Clearance online. It’s an easy process of only a few minutes on your phone. To create your Gcash account follow these steps:
1. Download the GCash App
Visit your app store (Play store or Apple store) and search for “GCash.” Download the App and install it on your phone.
2. Open the App and Tap “Register”
Open the Gcash App in your Phone and click on the “Register” button to set up your account.
3. Enter “Mobile Number” and Create a “Password”
Type your Mobile number the “Mobile number” box and then generate a strong password (Pin).
4. Fill “Personal Information”
To complete your registration, Enter personal information like your name and address.
5. Verify Your Account by Valid ID
Complete your account verification by entering a valid ID to use all the features of Gcash.
Congratulations! Your Gcash account is complete and verified, Now you can pay for your NBI Clearance through Gcash.
How to Pay NBI Clearance Using GCash
Follow the steps below to pay NBI using GCash:
Step 1: Visit the NBI Clearance Website
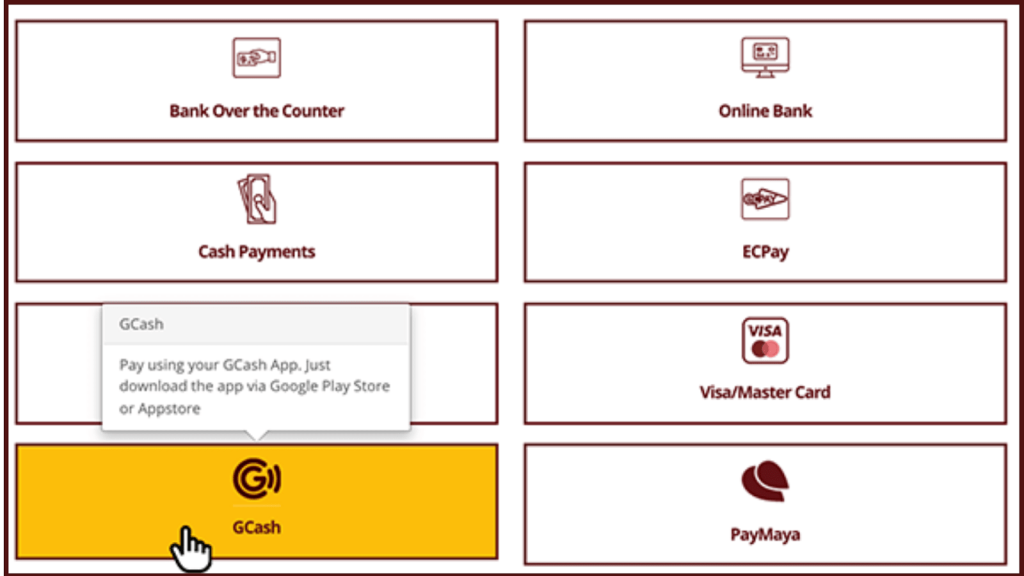
Step 2: Choose GCash as Your Payment Method
Step 3: Payment Information Page
Step 4: Payment Summary
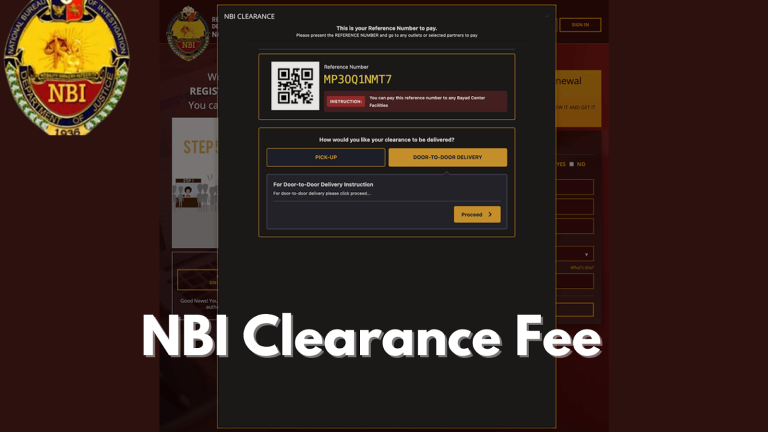
The payment summary will now show the NBI Clearance fee and your unique reference number. The fee is typically split as follows:
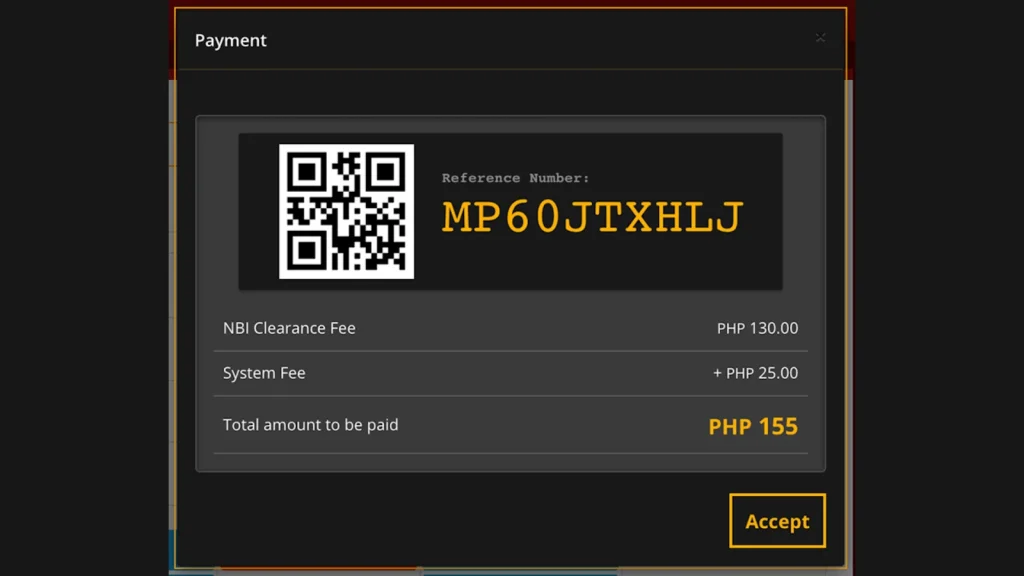
Take a screenshot or note down the NBI Clearance Reference Number and the total amount due (e.g., PHP 155.00).
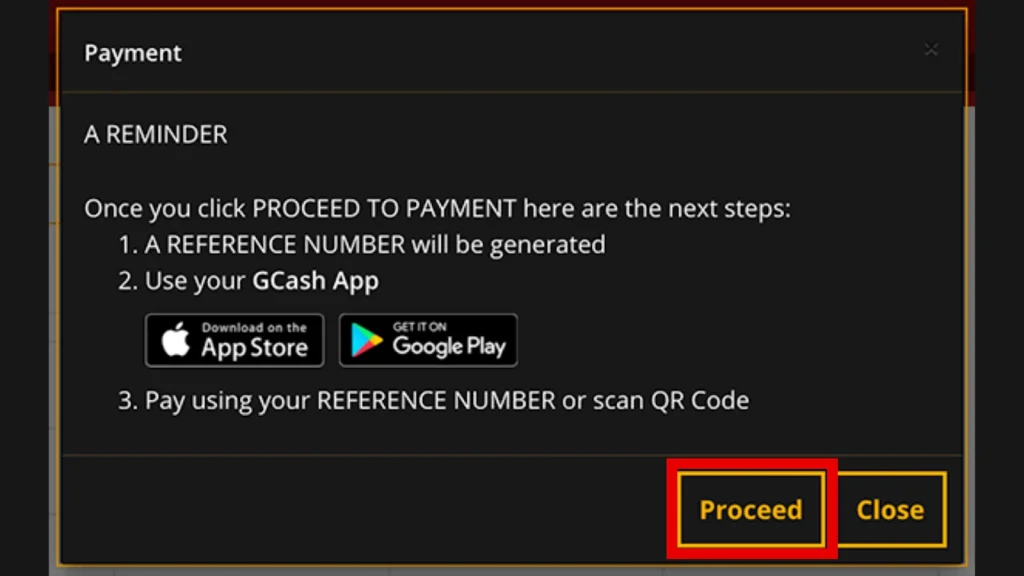
Step 5: Accept Payment Terms
Step 6: Return to Dashboard
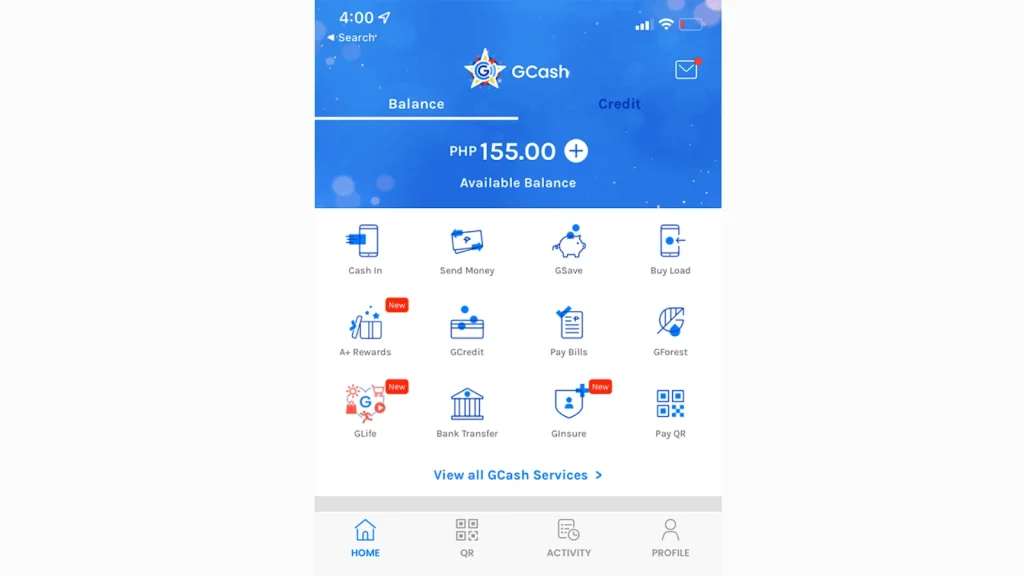
Step 7: Open Your GCash App
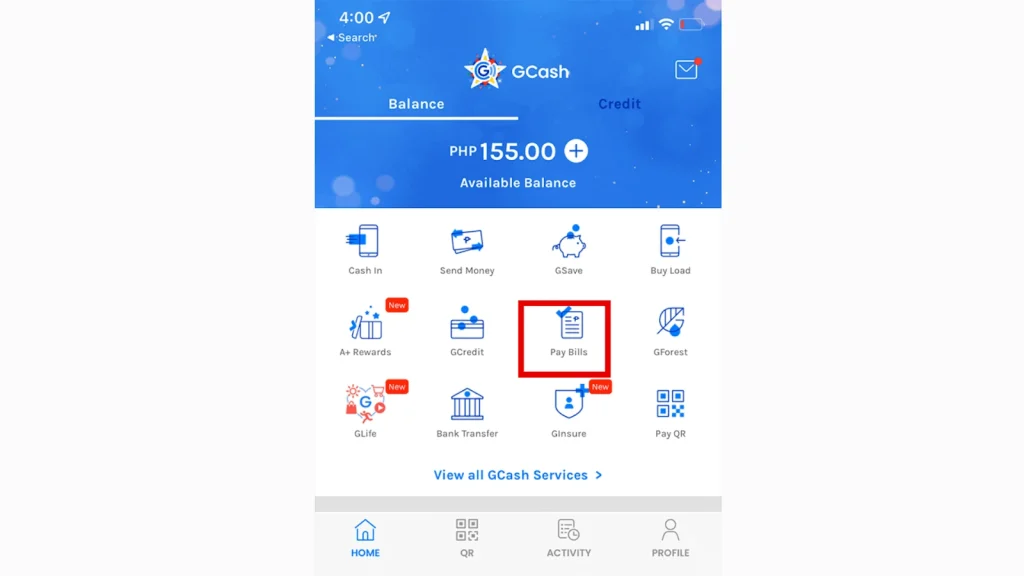
Step 8: Go to “Pay Bills” Section
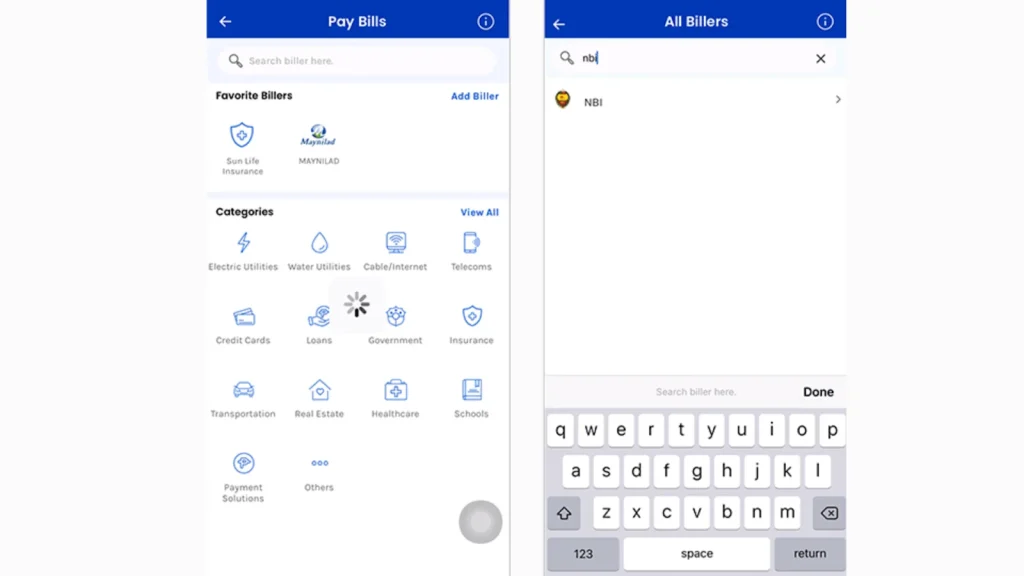
Step 9: Search for NBI in Billers
Step 10: Enter Payment Information
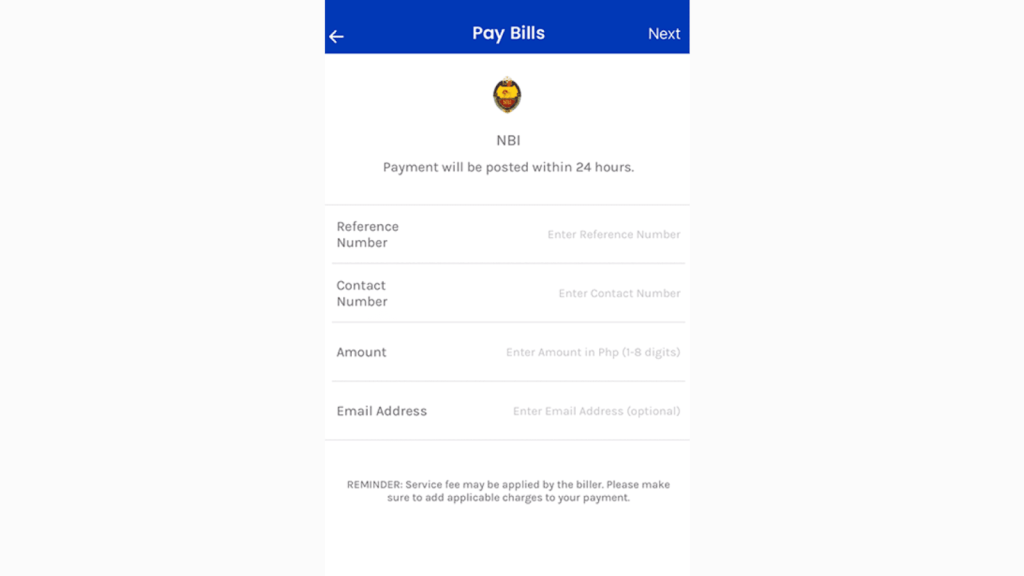
Note: Double-check the NBI Reference Number and the NBI Clearance Fee to make sure they are correct. If the reference number is wrong, your payment will not be linked to your NBI Clearance application.
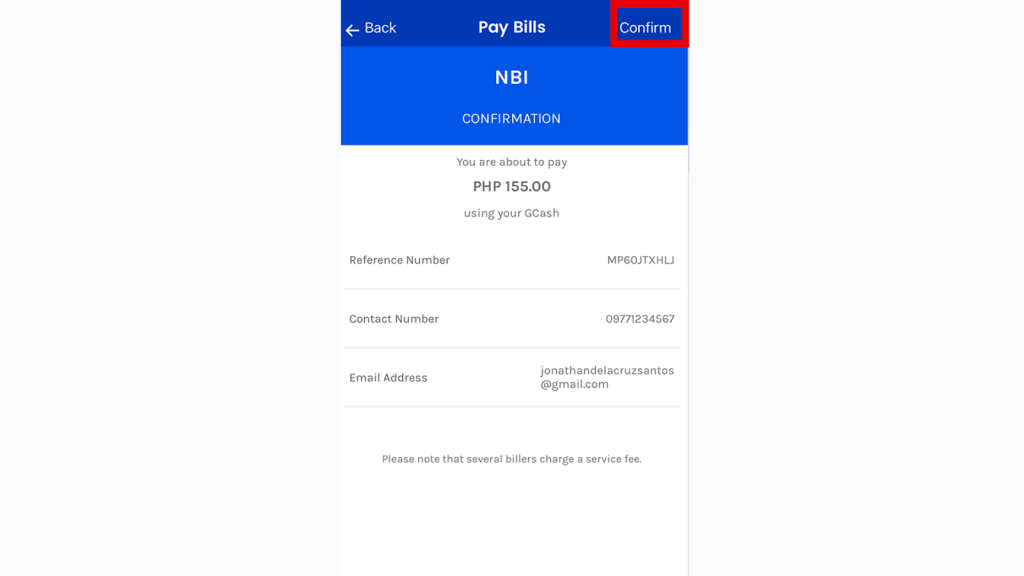
Step 11: Confirm the Payment
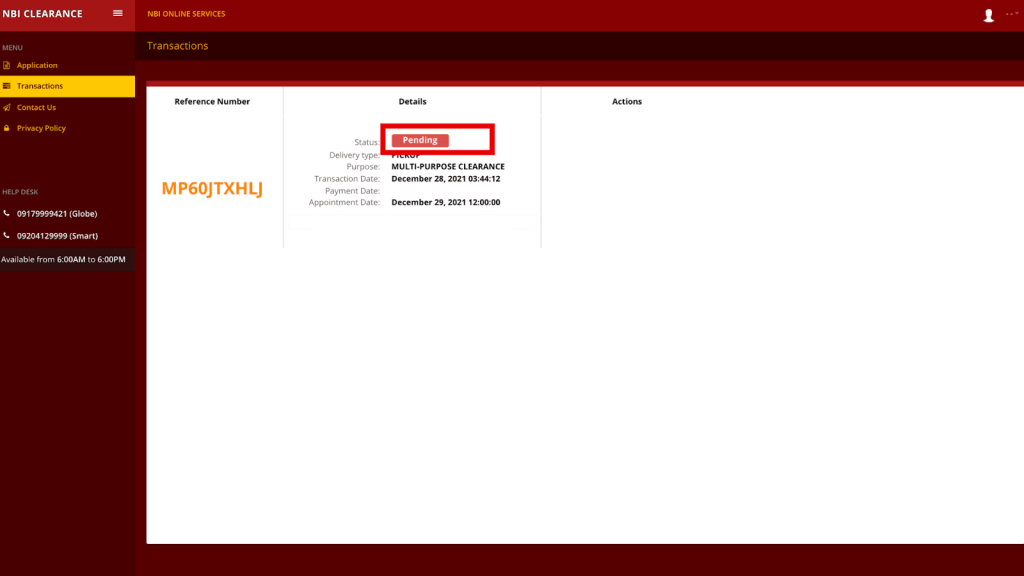
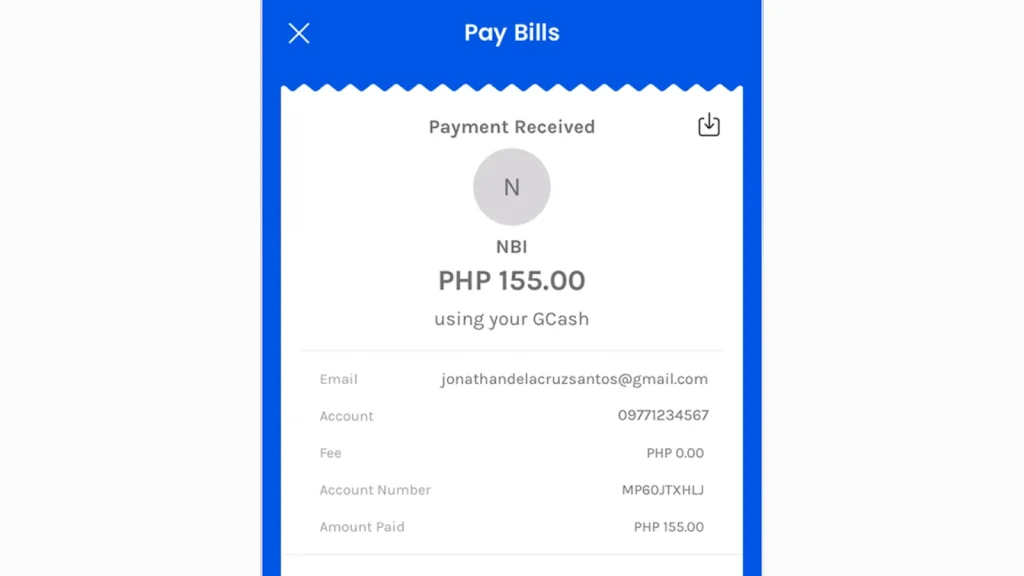
Step 12: Payment Confirmation
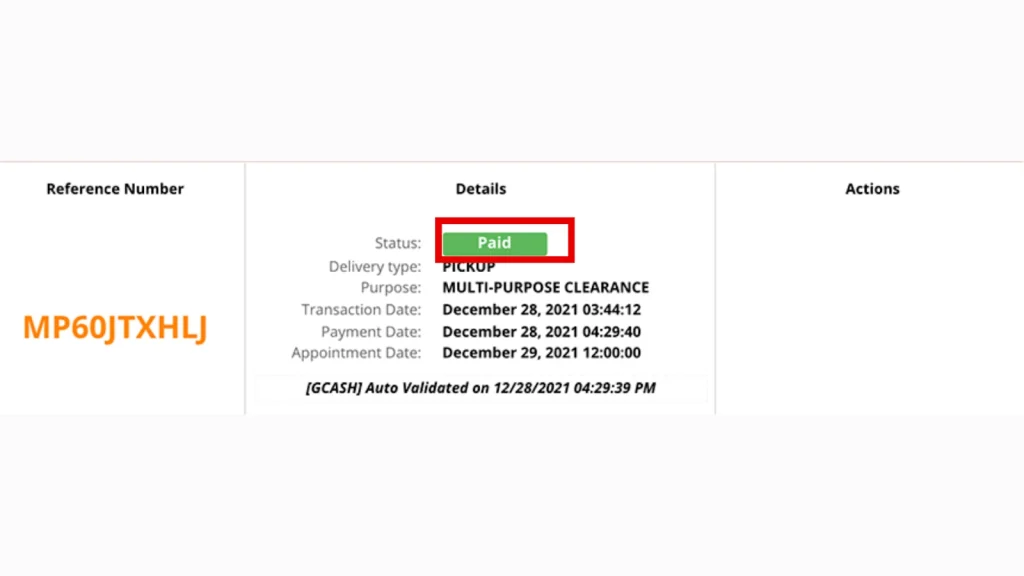
Step 13: Check Your NBI Clearance Application Status
Step 14: Finish the Process
Helpful Tips After Payment Using GCash
Save Your Reference Number
Keep your payment reference number safe, you may need to solve any application problems.
Check Your Email
NBI will send a confirmation email after you pay the clearance fees through Gcash. so make sure to look for this email in your inbox. You should also check the spam folder because sometimes emails are stuck in your spam folder.
Print or Save Your Application Form
Print your Application form or save this form in your computer or mobile phone. It can be asked by NBI Officials at the day of your clearance appointment.
Why Use GCash for NBI Clearance Payments?
GCash, a popular digital wallet in the Philippines, enables users to pay for various services, including government-related fees. Here are some benefits of using GCash for your NBI Clearance payment:
Conclusion
Using GCash to pay for your NBI Clearance is fast and easy, helping you save time and effort. With just a few clicks on your smartphone, you can settle the payment and focus on completing your application without dealing with long queues. Whether you’re renewing your clearance or applying for the first time, this method ensures you get things done quickly and efficiently.
Make sure to keep track of your reference number and payment receipt to ensure a smooth experience.


3 Comments